
In the post I’m going to give you a break down of palettes, lipsticks, blushes and more along with how to apply them what to pair it up with! Even if you’re just going out for a couple or drinks, visiting family or staying home here are some Christmas inspired make up that with for sure get you in the festive mood!
Which make up look sticks out to you the most? The red and green ones? The Pink? The green? The blue?
I like them all! I’m going to try to break down these looks for you. I’m going to start with the eyeshadows because those are my most favorite staple make up looks!
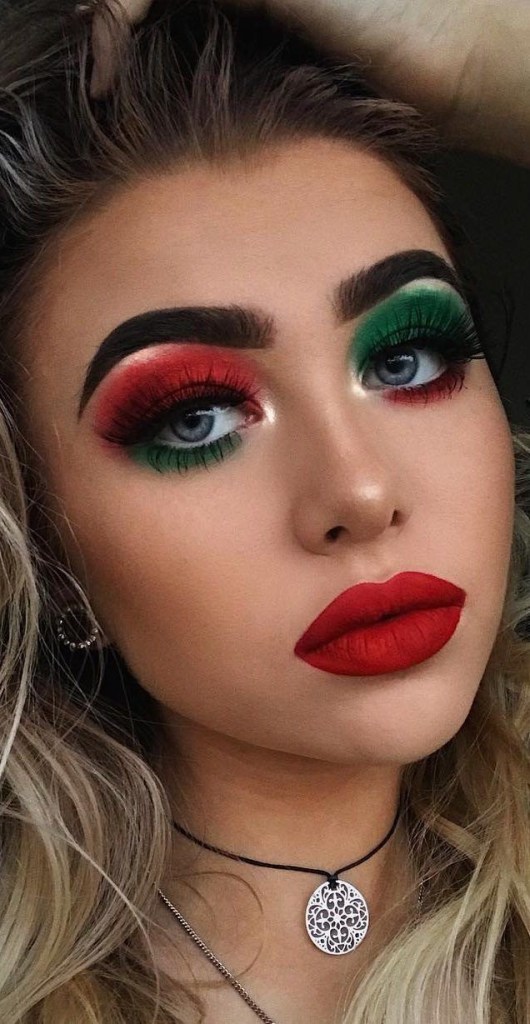
I’m going to start with these too pretty read and green make up looks.

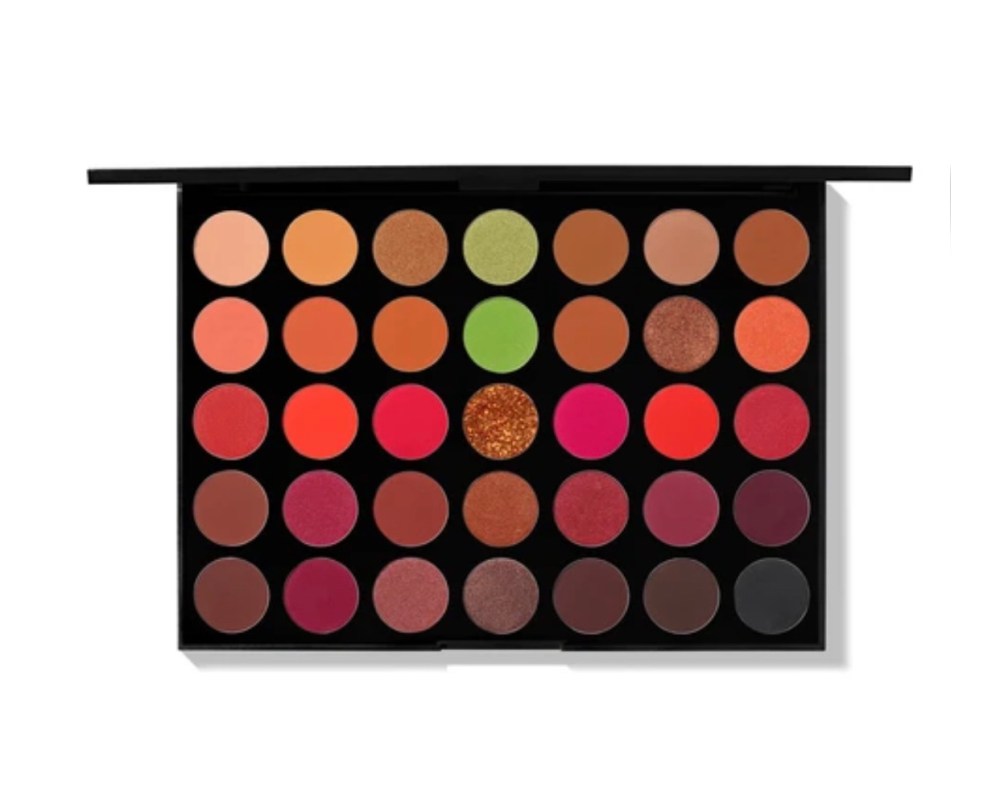
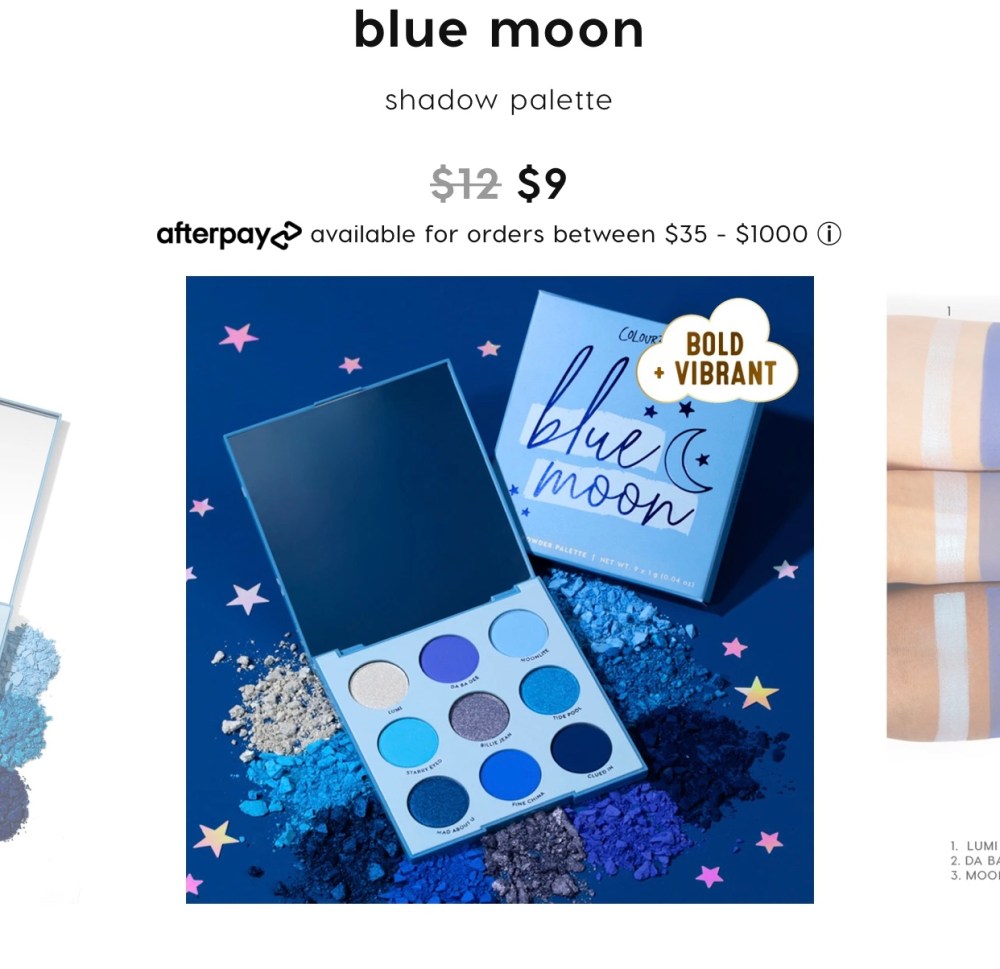
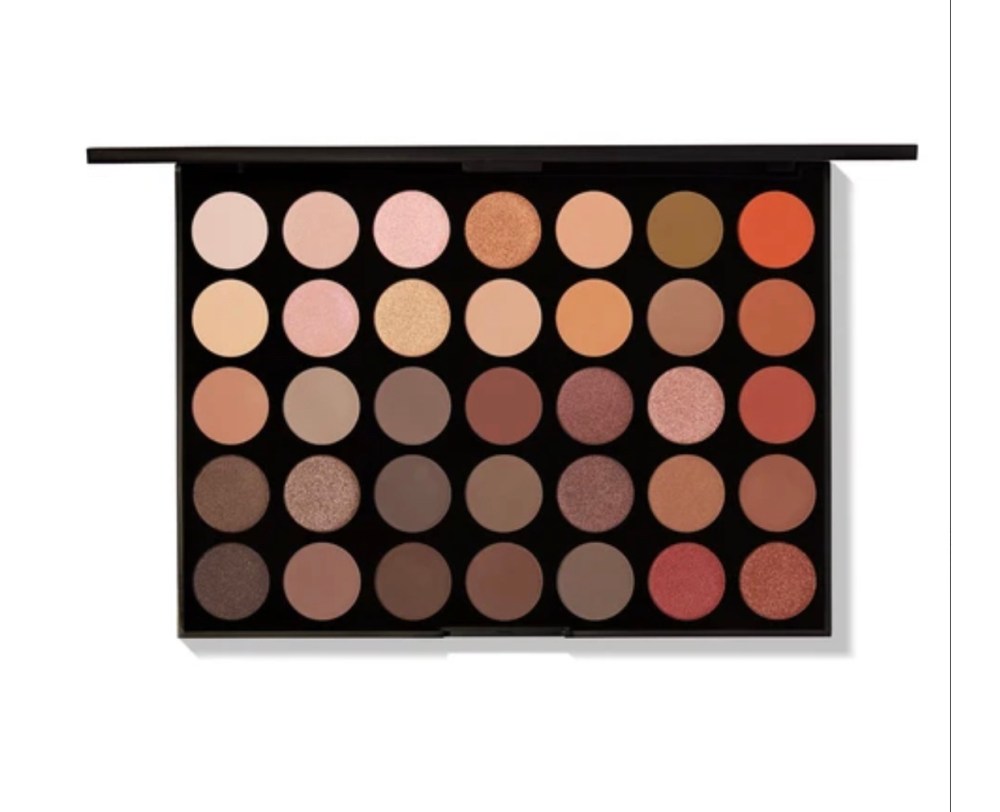
These two palettes are perfect for any green and/or red looks this holiday season. This Avocado Palette that I found on amazon got awesome reviews for pigment and long-lasting wear especially for the price! Only $10! The 35O3 Fierce by Nature Morphe palette does not disappoint and even has perfect shades of mainly red but also green!
For the left sided look, I would dip into the lightest red for your left eyelid using a large shader brush and cover the base of your eyelid. Use a blender brush to blend that into your crease to avoid harsh lines. For your right water line I would dip into that same shade with a pencil brush and run it gently along your lower waterline starting from your outer corner and blending in. I would follow in with a deeper shade red with a blending brush and on the left eyelid starting with the outer corner and blending it into the crease! This will help create some depth to the look. Then use a little more of the deeper red shade and blend it into your water line using a small angled brush beginning from your outer corner in again.

For the green side you can go in with the green shade underneath the yellow shade in the avocado palette and spread it across your lid using a large shader brush and going over it with the blender brush to blend it out into your crease. Go into the lower lash line with the same color and follow along the edge with a pencil brush. Following with a darker green shade with that same blender brush and using the same technique as with the red and smudging it in your outer corner and blending into the crease. Using that same shade follow with your lower lash line and shade it into your line beginning with the outer corner and blending it in.Mow either with your favorite highlight or the glittery gold shade in the palette pop the sparkle of highlight in your inner corner with wither your pinky or small shader brush! Add mascara or you favorite lashes for a festive holiday look!
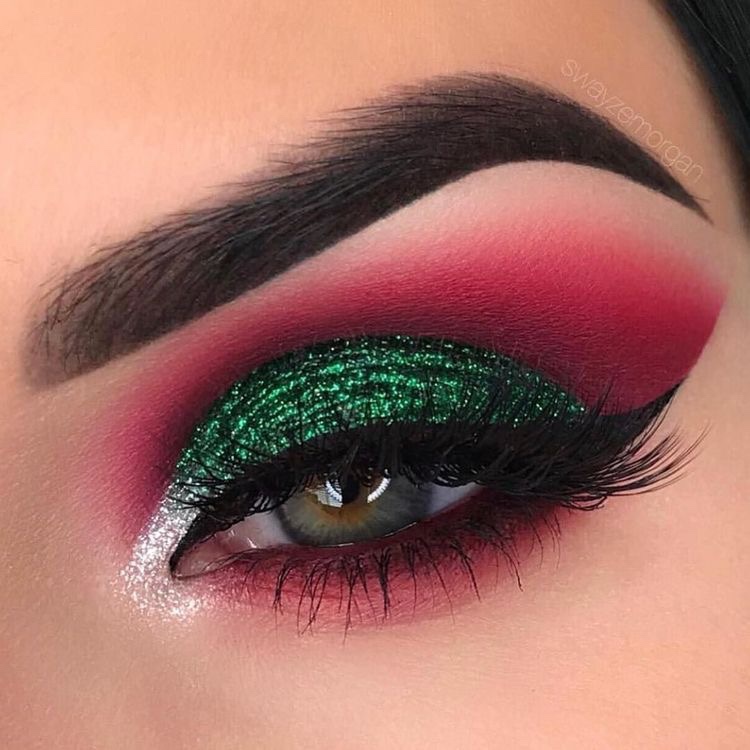
As for the right sided picture, I would try to go for a cut crease look. Using a small piece of tape. Tape along your lower lash line and give yourself a few centimeters of “winging” space with the tape. Go in with a bright red in your outer corner and blend in gently into your crease. Careful not to put too much. With a darker shade of red blend it in but focusing on the crease line with a pencil brush to deepen the crease. If some gets into the base of the lid it’s okay the next step should cover that. Make sure that the red is blended out to the tape to create a winged effect once removed.
Next, were going to use a smidgen of concealer to conceal the base of the lid and set it with a muted green shade, avoiding the inner corner. Using either your finger or a small shader brush to apply a thick glittery green shade, again avoiding the corner. The pop a white/silver glitter shade in your inner corner for a double sparkly look.
Removed the tape and blend in your lower lash line with the two reds you used before. Apply using an angled brush or pencil brush. do a little black winged liner to add some character or leave as is and pop on your favorite lash/mascara
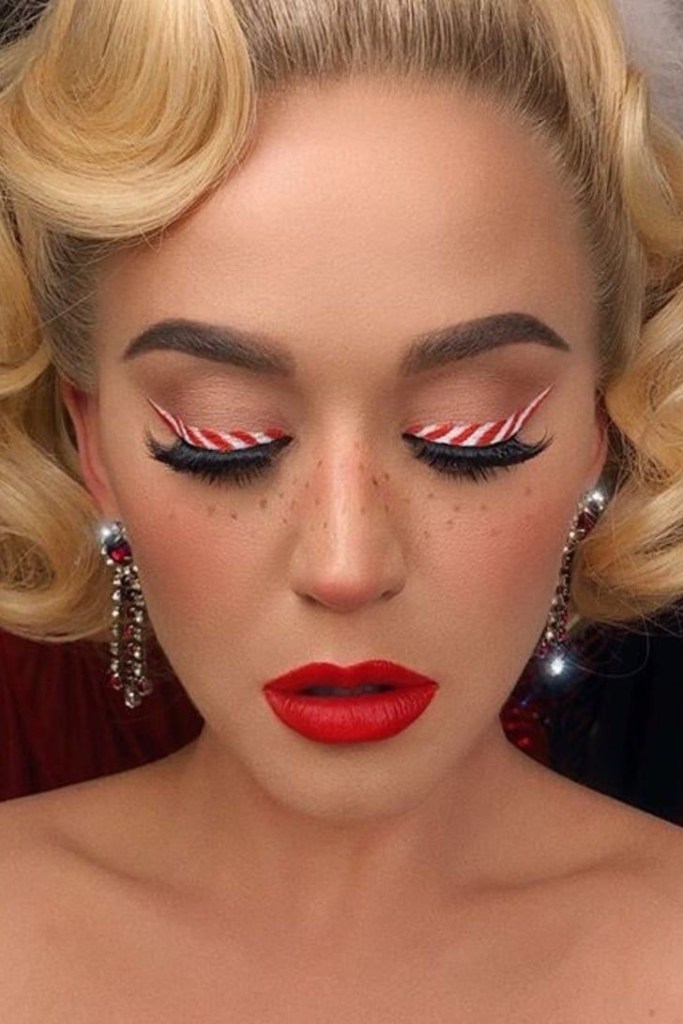

These looks seem to be primarily eye liner! To me, the candy cane one seems to be more difficult that the santa hat one! But either way I know the perfect pair of eyeliners to use for these! I would suggest putting a base layer of eyeshadow or primer down before apply just to help it stay better!
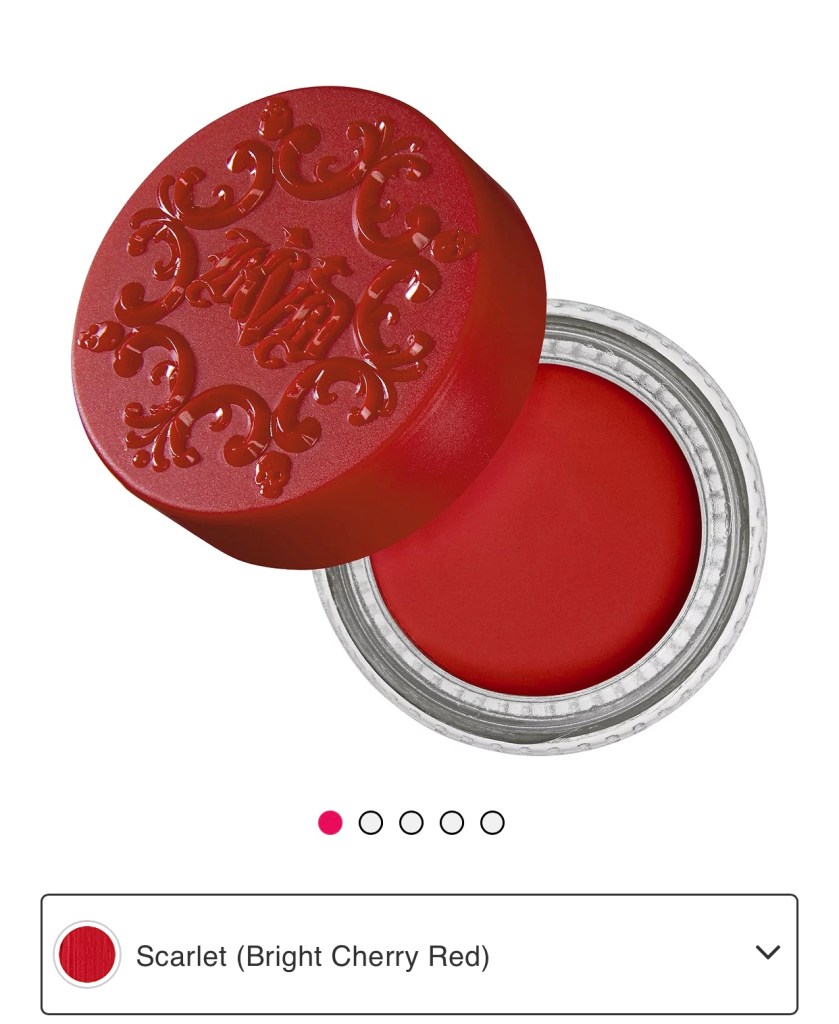
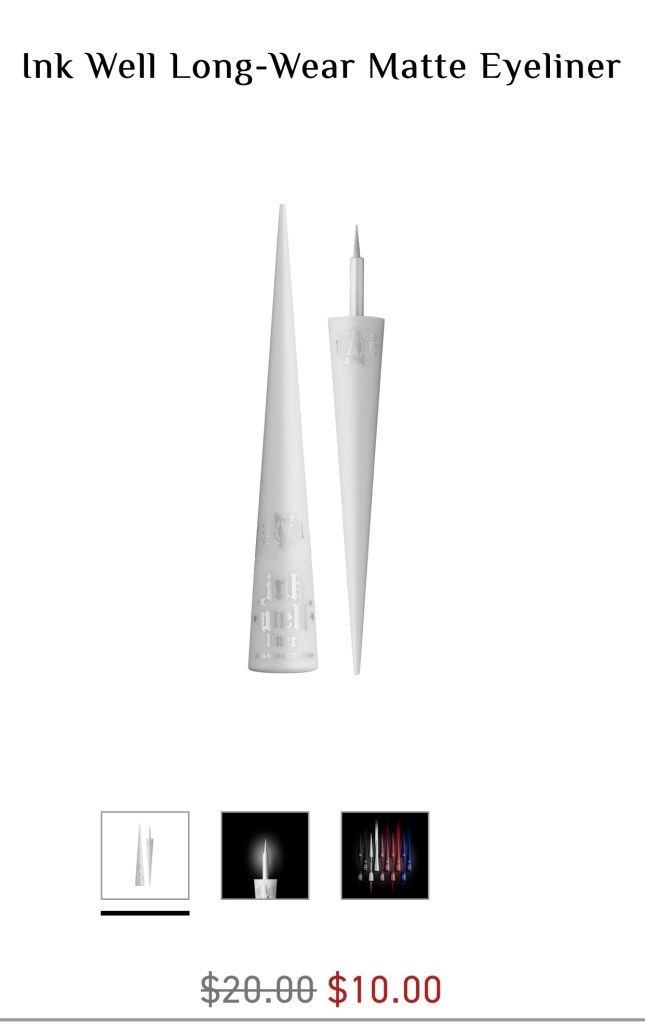
Both of these Kat Von Dee Liquid Eyeliners are some of the best eyeliners on the market (based on reviews) and they were both on sale when I made this post which is a big plus! The dip pot comes with an angled brush for easy application.
For the left sided look I would start with the white eyeliner and bring it out to a wing. Starting in the middle like most wings and bringing it out then following with the same applicator carefully try the rest beginning from the inner corner to the middle. Let dry if needed. Then going in with the red and applicator do small slashes creating a candy cane look.
For the right sided look I would go in with the red first. Using the angled brush I would start on the from the inner corner slowly follow the crease of the eyelid creating an outline of the hat then from the outer corner of your eye connecting the two in a winged manor. The filling in with either the eyeliner or a bright red eyeshadow. Feel free to top the inside of the hat with glitter eyeshadow to add some sparkle. Then once dry follow the lash line with the white eye liner in the feathery technique to include some fluff and don’t forget to add the fluff ball to the end of the santa hat!

If you want something that’s not so festive but still gives you winter-y vibes that one of these looks are perfect for you!
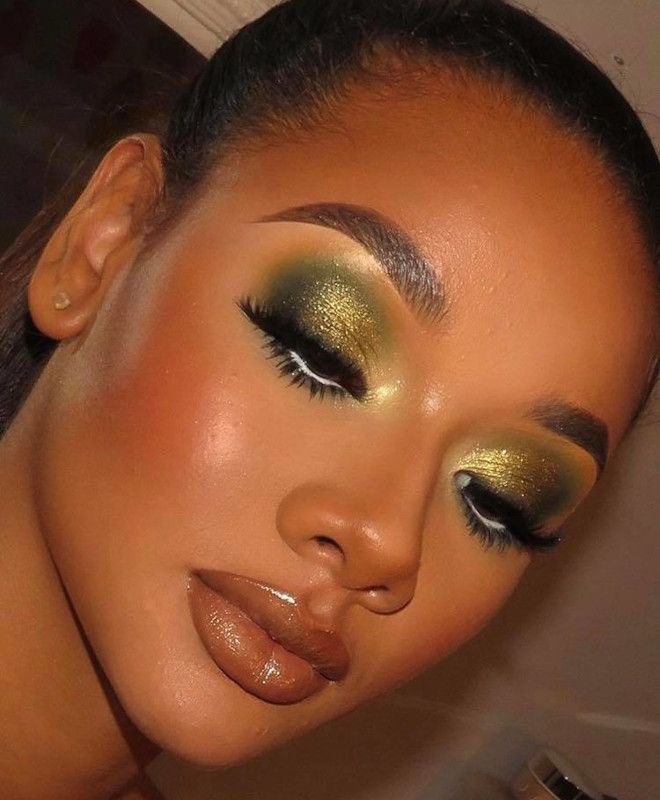
I love the very simple green and gold glittery lid. This can be done with one of the palettes up top! I would do the base lid with a light green color and deepen in crease and outside with a darker green shade. Next, I would use that same dark green and run it along your lower lash line. Then I would go in with a brown and kind of blend it in the outer corner before layering it on a shimmer gold color.
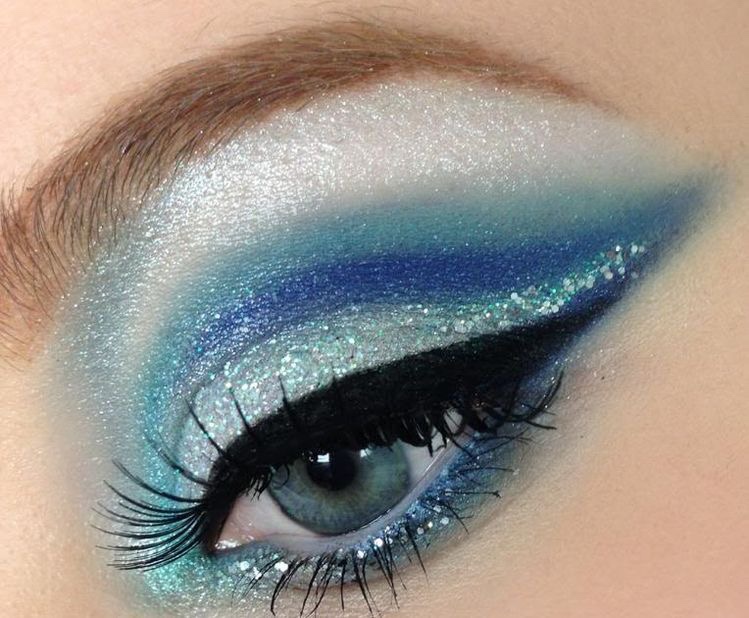
I think the icy blue look is just mastering the cut crease which I would never do with my hooded eyes. I would use an angled blending brush for this mostly. Starting with a cream colored base using a large shading brush. Then following with the white all over. Then follow it with a teal color and defining the crease using an angled blending brush into a wing motion. I would try to tackle the deeper blue next using a small angled brush and trying to define the crease a little more and going along the lash line into a winged motion. Next, I would go in with a glittery white feathering it in using the angled brush along the lash line. Finally complete the look with a black wing! and Ta-da!
I love a pink and gold Christmas. My tree is decorated with pink and gold! Also, I love pink eyeshadows which is why I love this Morphe Palette so much. It has a perfect about of shimmers and mattes. I think it’s so so pretty. I would start my color off with a peachy pink color all over my lid. Then using a little pencil brush I would go in with a hot pink color on the outer corner and blend it into my crease and blend it through my lid with a blending brush. I would then go in with some concealer or eye primer and place that on my inner corner and blending to the mid-lid before placing a shimmery pink/silver over top of it!
I realized I am not very good at describing make up. This is the first time that I have ever tried to do one of these posts but I loved it! What look is your favorite? Let me know in the comments!
with love, c.p

Leave a comment