I don’t. I bag them.
How boring would that blogpost be if that were true? There are somethings I place in giftbags but for the most part I love to wrap! The more difficult the better! I think it’s so fun! It can be time consuming, but fun nonetheless!
When I was shopping for giftwrap this year I started to really think what a waste of money that is. It’s pretty but it doesn’t last long and people end up just throwing it away when its over.. So sad.
Anyway, still doesn’t take the excitement away from wrapping. I think I wrap my presents pretty basically.
Number One: Remove all of the price tags. I sometimes forget this step or I would sometimes be afraid that I left it on there. So I always make a point to do this part first every time! Leaving the price tag on a present is generally considered improper etiquette. If you can’t remove the sticker, get a black marker and black out the price.
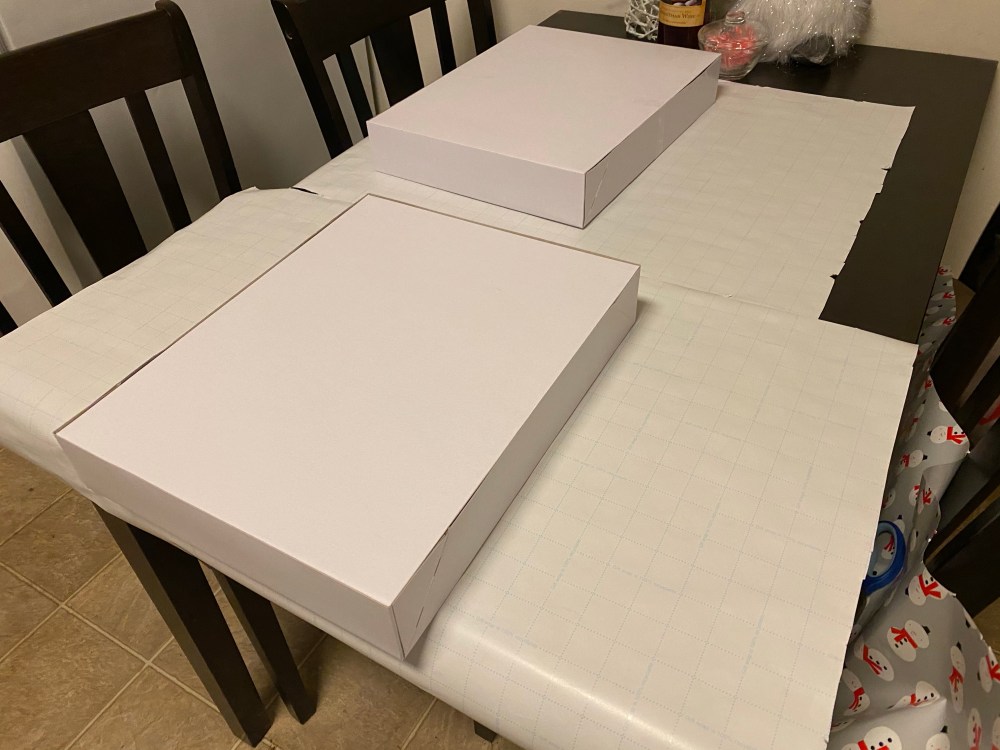
Place the gift in a box. It’s much easier to wrap something that has a square or rectangular shape. In many cases, like with mugs and clothing, this means placing the gift in a box. You can buy boxes for gifts in the same department store aisle where you buy wrapping paper. You can also use an old box, like a shoebox, you have lying around your home. Sometimes I don’t do this part try to think of a fun or creative way to wrap it.
Flip the box upside down. Unroll the wrapping paper and flip the box upside down. I always flip the box or present upside down when I’m wrapping it just because when you are making the edges of the wrapping paper come together you don’t have to worry about the seams showing on top of the present.

Wrap the paper over the box. Take the edge of the wrapping paper and wrap it around the box so it covers about half the box. Tap it down so it doesn’t move. Then use the end of the paper thats still connected to the roll and ‘measure, where to cut the other side. Making sure in overlaps about an inch.

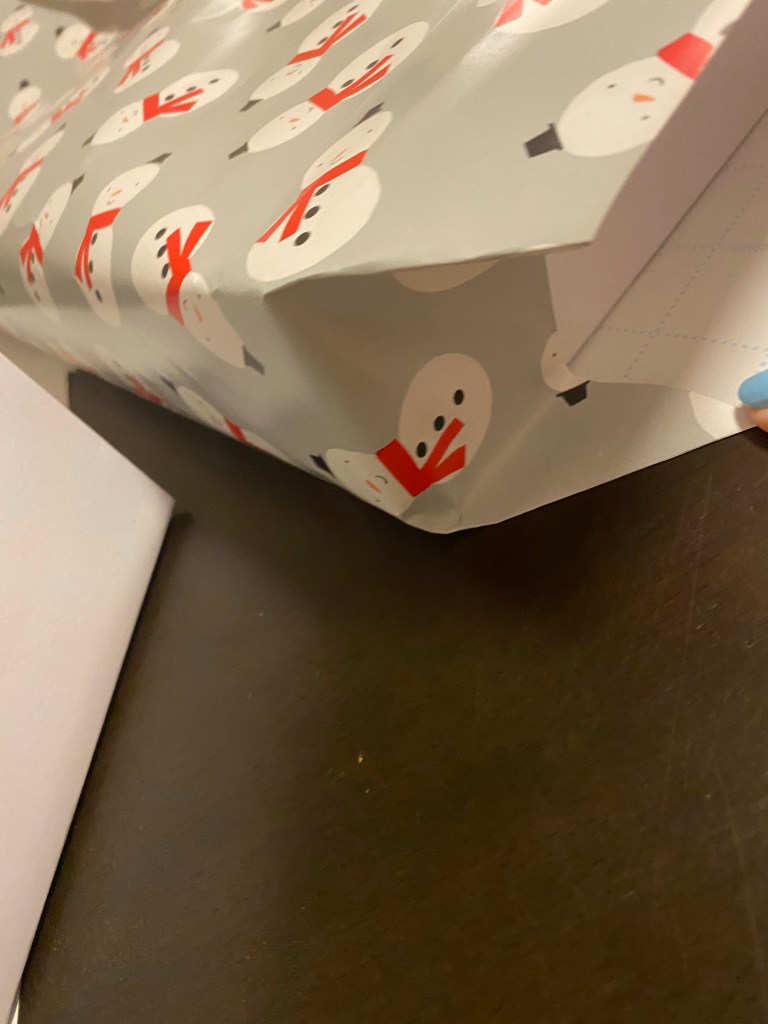
Tuck in the Triangl-ish folds. Two sides of the box will still have unfolded paper sticking out. Starting on one side, push both ends of the paper inward so they hug the corners of the box. Once the ends are hugging the corners of the box, you will notice four triangle shape folds on each of the box’s corners. Use your fingers to crease each fold to secure it.

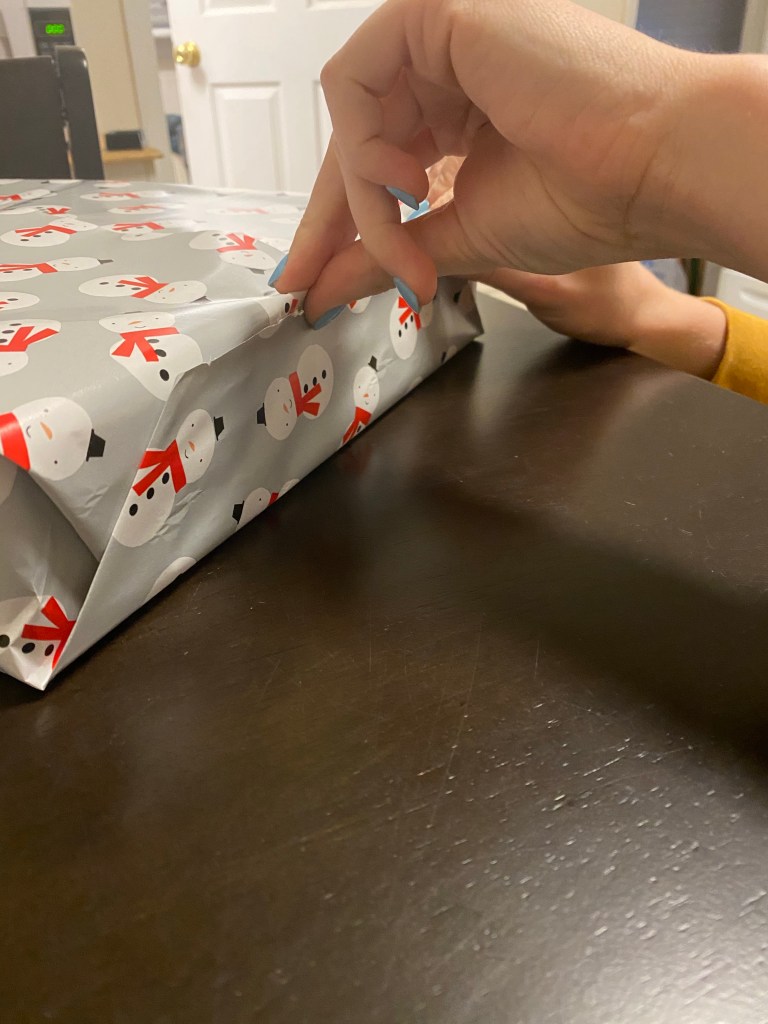
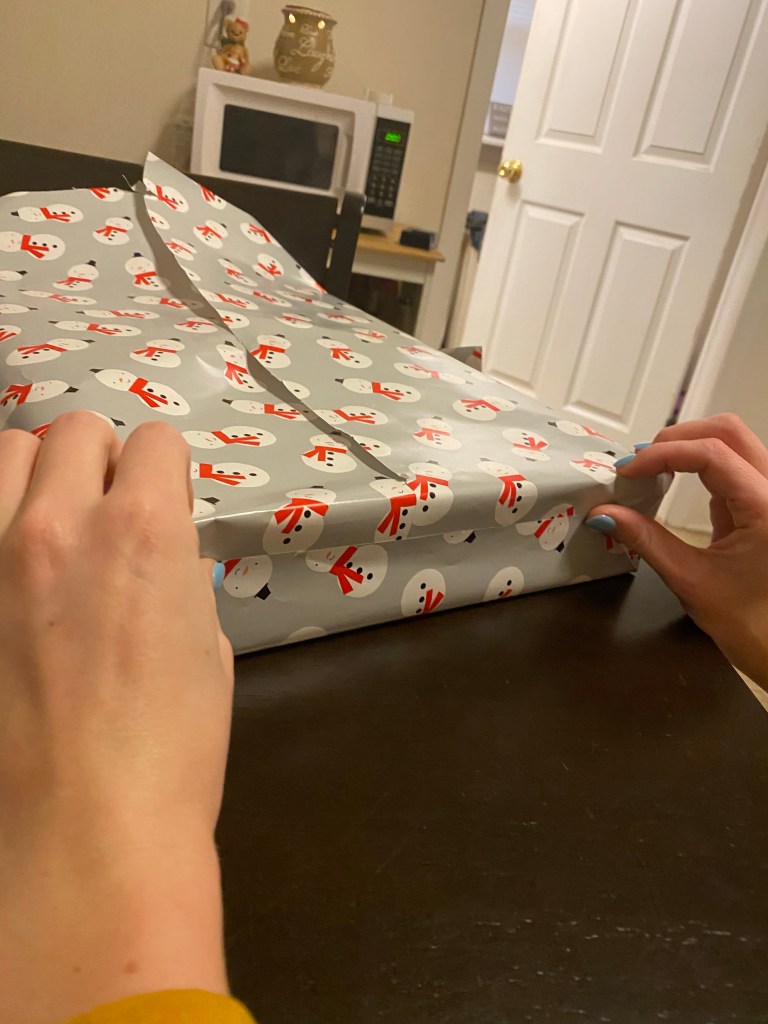
Fold the upper and lower flap together. At this point, on the top and bottom of the box, there should be two trapezoid-shaped flaps. I always start with the top flap because it’s the most difficult where it has the two edges coming together. Push the top flap down and crease the edge to secure it. Then, push the bottom flap upward so it overlaps with the top flap. Again, crease the edge to secure the fold.
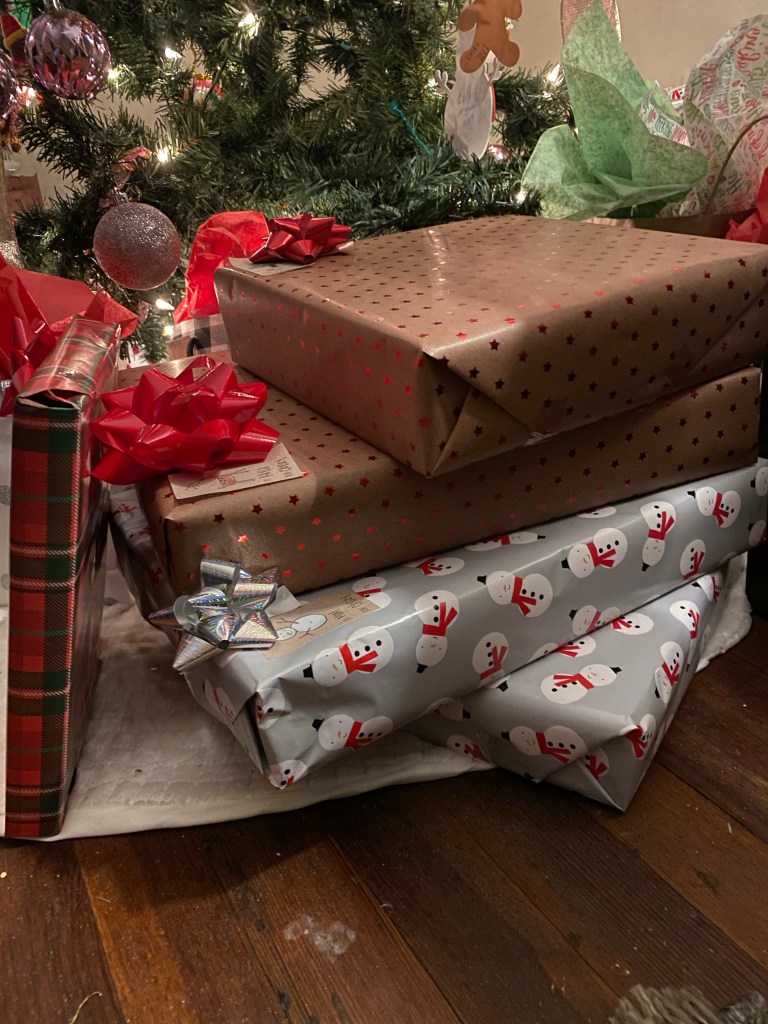
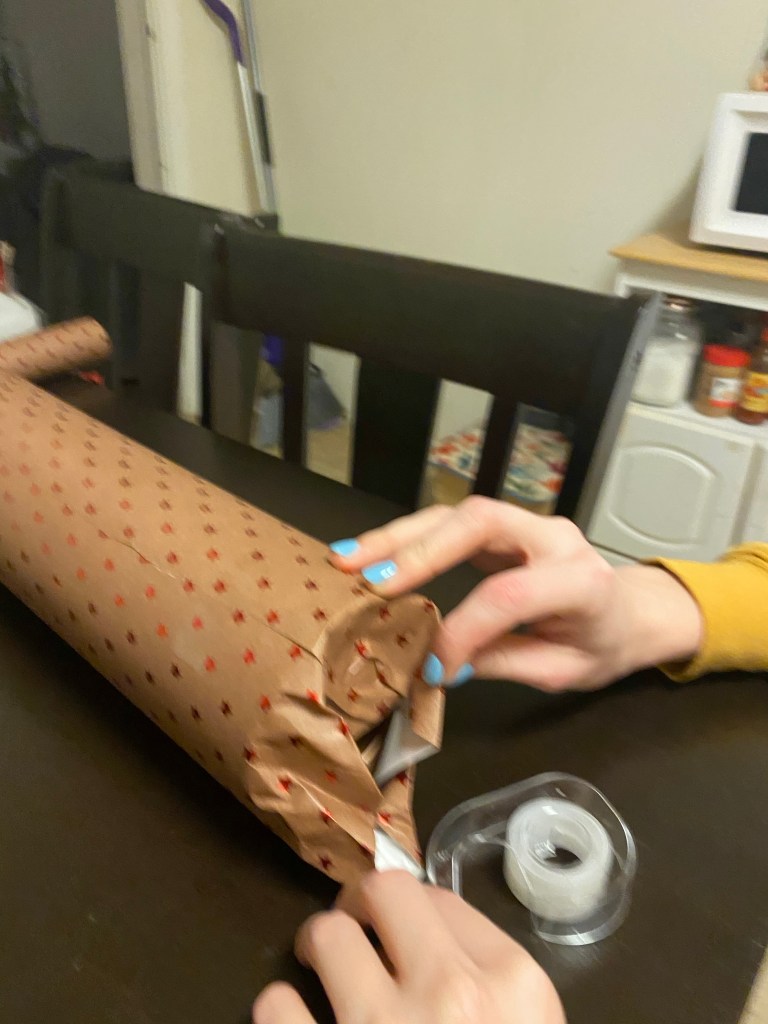
I also did this fun little cylinder shaped box that I wanted to show off!


But that’s pretty much it for the gift wrapping.. Until Santa comes on Christmas eve. Those are always the most fun to wrap. It’s like toy creators and package thinkers don’t consider how the presents are going to be wrapped. Maybe I’ll do a little mini update when that time comes around!
with love,
c.p

Leave a comment